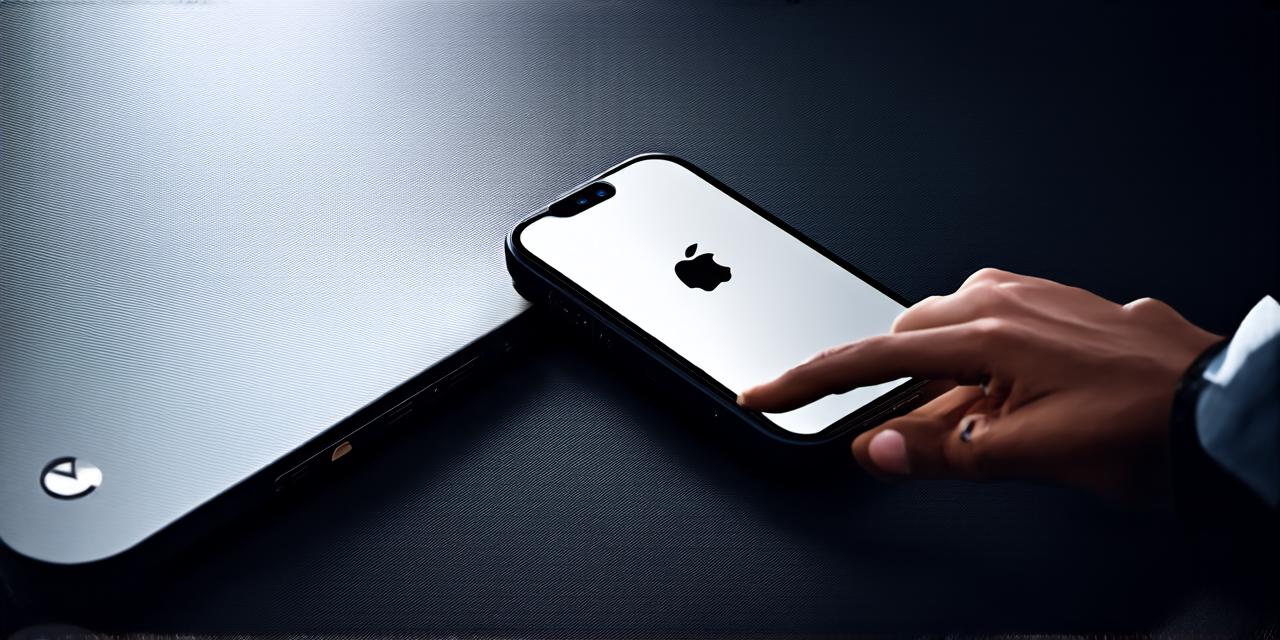
If you’re an iOS developer, you probably know that enabling developer mode on your device is essential for testing and debugging apps. However, if you’ve just updated to iOS 16, you might be wondering how to enable developer mode on your iPhone or iPad.
What is Developer Mode?
Before we dive into the steps of enabling developer mode on iOS 16, let’s first understand what it is. Developer mode is a feature that allows developers to access certain settings and tools on their iOS devices that are not available in regular mode.
These include:
- Debugging and profiling tools for testing and debugging apps
- Access to system settings and preferences that are not available to regular users
- The ability to install and run apps from external sources, such as computers or other devices
- The ability to create custom home screens with widgets and icons

Enabling Developer Mode on iOS 16
Now that we know what developer mode is, let’s move on to the steps of enabling it on your iOS device. Follow these simple steps:
- Go to Settings
- Open the Settings app on your iPhone or iPad by tapping on the icon in the home screen.
Step 2: Scroll down and Tap on About
Scroll down the settings menu until you find the “About” section. Here, you should see a tab labeled “Diagnostics & Usage”.
- Step 3: Tap on Developer Options
In the Diagnostics & Usage tab, scroll down until you find the “Developer Options” section. Tap on this to open it.
Step 4: Enable Developer Mode
By default, developer mode is disabled on iOS devices. To enable it, simply toggle the switch next to “Developer Mode”. This will turn the switch from off (white) to on (green).
Congratulations! You have now enabled developer mode on your iPhone or iPad running iOS 16.
Using Developer Mode: A Step-by-Step Guide
Now that you’ve enabled developer mode, let’s take a closer look at some of the features and tools it provides.
Debugging and Profiling Tools
One of the key benefits of enabling developer mode is access to debugging and profiling tools. These tools allow you to test and debug your apps more effectively by identifying and fixing issues that might be causing problems.
To use these tools, simply launch Xcode on your Mac or PC, connect your iPhone or iPad to your computer using a USB cable, and select it from the list of devices in Xcode. You can then run your app on your device and use Xcode’s debugging and profiling tools to test and debug it.
System Settings and Preferences
Another benefit of enabling developer mode is access to system settings and preferences that are not available to regular users. For example, you can access settings for Bluetooth, Wi-Fi, and other wireless networks, as well as settings for Location Services and Privacy.
To access these settings, simply tap on the Settings icon on your iPhone or iPad and select the option you want to modify.
Installing and Running Apps from External Sources
With developer mode enabled, you can also install and run apps from external sources, such as computers or other devices. This can be useful if you need to test an app on a device that doesn’t have access to the App Store.
To install an app from an external source, simply download the app file from the website or computer and then use iTunes to transfer it to your iPhone or iPad. Once the app is installed, you can launch it just like any other app on your device.
Custom Home Screens
Finally, with developer mode enabled, you can create custom home screens with widgets and icons. This can be a great way to personalize your device and make it more productive by adding the tools and apps you use most frequently to your home screen.